KeePass is a free, open source, light-weight and easy-to-use password manager. A password manager is a software application that helps a user organize username and passwords.
But Why Use a Password Manager?
There are many benefits in using a password manager but these three stands out:
- Password managers remove the burden of remembering passwords. You only have to remember the master password that unlocks the password manager itself.
- It can generate all your other passwords for you. The generated passwords are strong, thus, more secure.
- It saves time by filling in your usernames and password automatically when you go to your account websites. Thus you waste less time typing.
Download and Setup
- Go to their website and download KeePass.
- Choose the portable version 2.27. This will download ZIP package.
- Unpack it to your preferred location. Mine is in D:\portables where I keep all my portable apps. It can also be in a USB stick or external drives.
Note: The good thing about a portable version is that it runs without any additional installation and won’t store any settings outside its application directory.
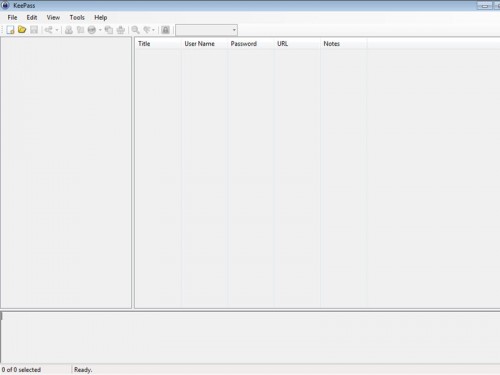
- Open KeePass. You will be presented with a mostly blank interface.
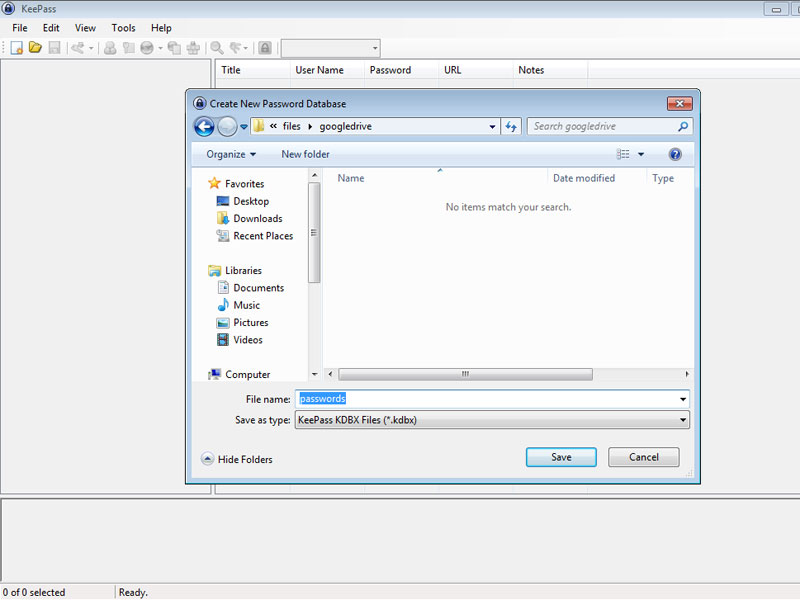
- Create a new database file (.kdbx) by going to File > New or by pressing CTRL + N.
- Choose a file name and save it to your preferred location. I named mine passwords.kdbx and saved it in D:\files\googledrive as I will be syncing it with google drive later.

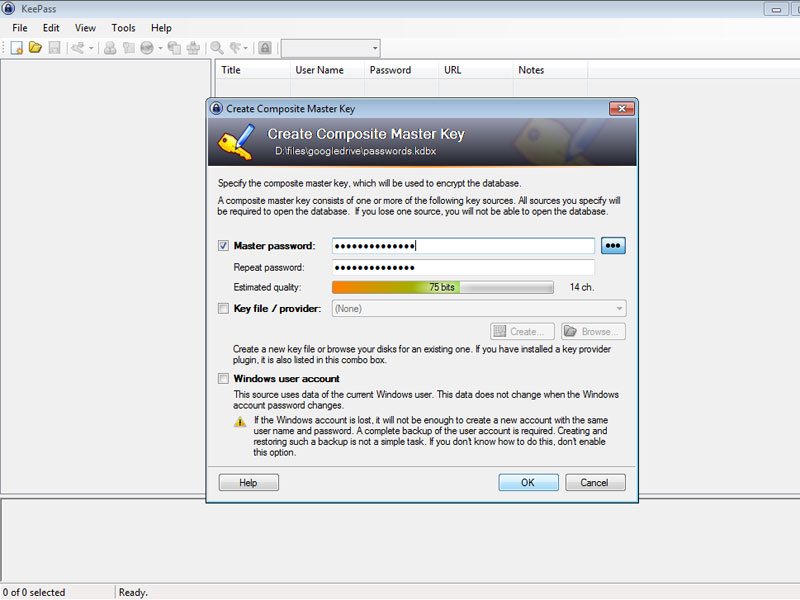
- Choose a master password and click OK. It is important that you make your master password secure but easy to remember.
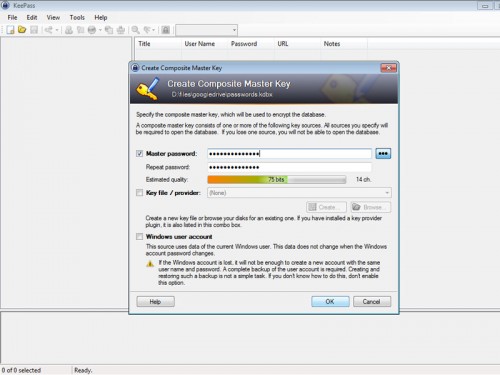
Note:A database file is an encrypted file used by KeePass to store your passwords. It means that even if a hacker gets hold of it, he/she will not be able to view your passwords without the master password.
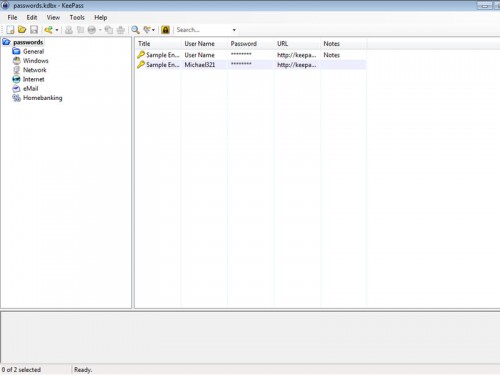
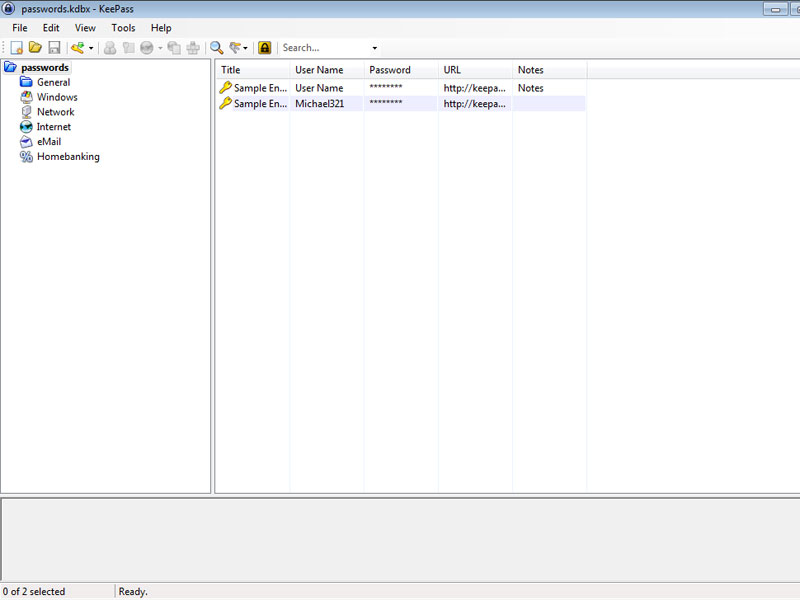
- In the database settings choose a database name. I named mine “passwords”. Leave other settings to defaults and click OK.
- KeePass will now show the database with sample data. Press CTRL + S to save your database file for the first time.

Adding Entries
Adding entries is simple and straightforward. The panel on the left side is where you organize and group your passwords. The panel on the right shows the entries within the selected group in the right panel.
- Click Internet in the left panel.
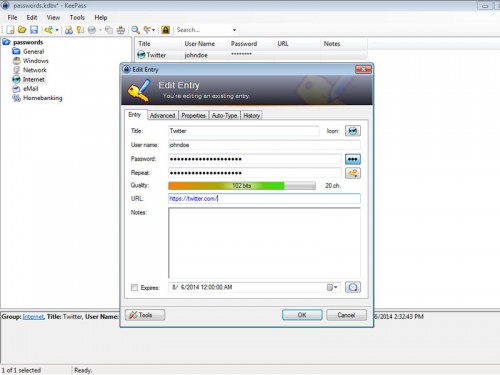
- Click the Add Entry icon or press CTRL + I. The Add Entry dialog box appears.
- Add your preferred title. Title should be denote what the entry is for. For mine I typed “Twitter”.
- Type the username.
- Password should be auto generated by now. Click Show/hide password to see the generated password.
- Add the url to the login page. Since I am creating an entry for twitter I’ll use “https://twitter.com/”.
- Click OK.

Logging In Using KeePass
Now that we have added an entry let’s try the auto type feature of KeePass.
- Since I created an entry for twittter, I’ll go and visit https://twitter.com/.
- Place the mouse cursor in the username field and left-click. Similar to when your about to type your login info but this time we will use KeePass’ auto type.
- Go back to KeePass and left-click the Twitter entry. It will be highlighted.
- Press CTRL + V.
Voila! Watch as KeePass types the login info for you. But since we don’t really have a twitter account with that username and password, our login will fail. Its just to demonstrate KeePass’ time saving auto type.
In summary, use a password manager.
Note:Two very important things to remember when using a password manager are: 1.) You should NEVER FORGET your master password and 2.) Never lose your database file.
No Comments